This article shows you how to set up basic configuration of Bivocom 5G&4G IoT gateway TG453 and TG463 under latest OpenWrt version 22.03.0 environment.
What You Need?
- Bivocom TG453, TG463 IoT Gateway with latest Openwrt version 22.03.0 built-in
- An IoT developer with knowledge of OpenWrt
Steps of Settings and Configurations
1. Login Web UI
Login Web UI with 192.168.1.1 via LAN port, and Username: root, default Password is null.

2. Status
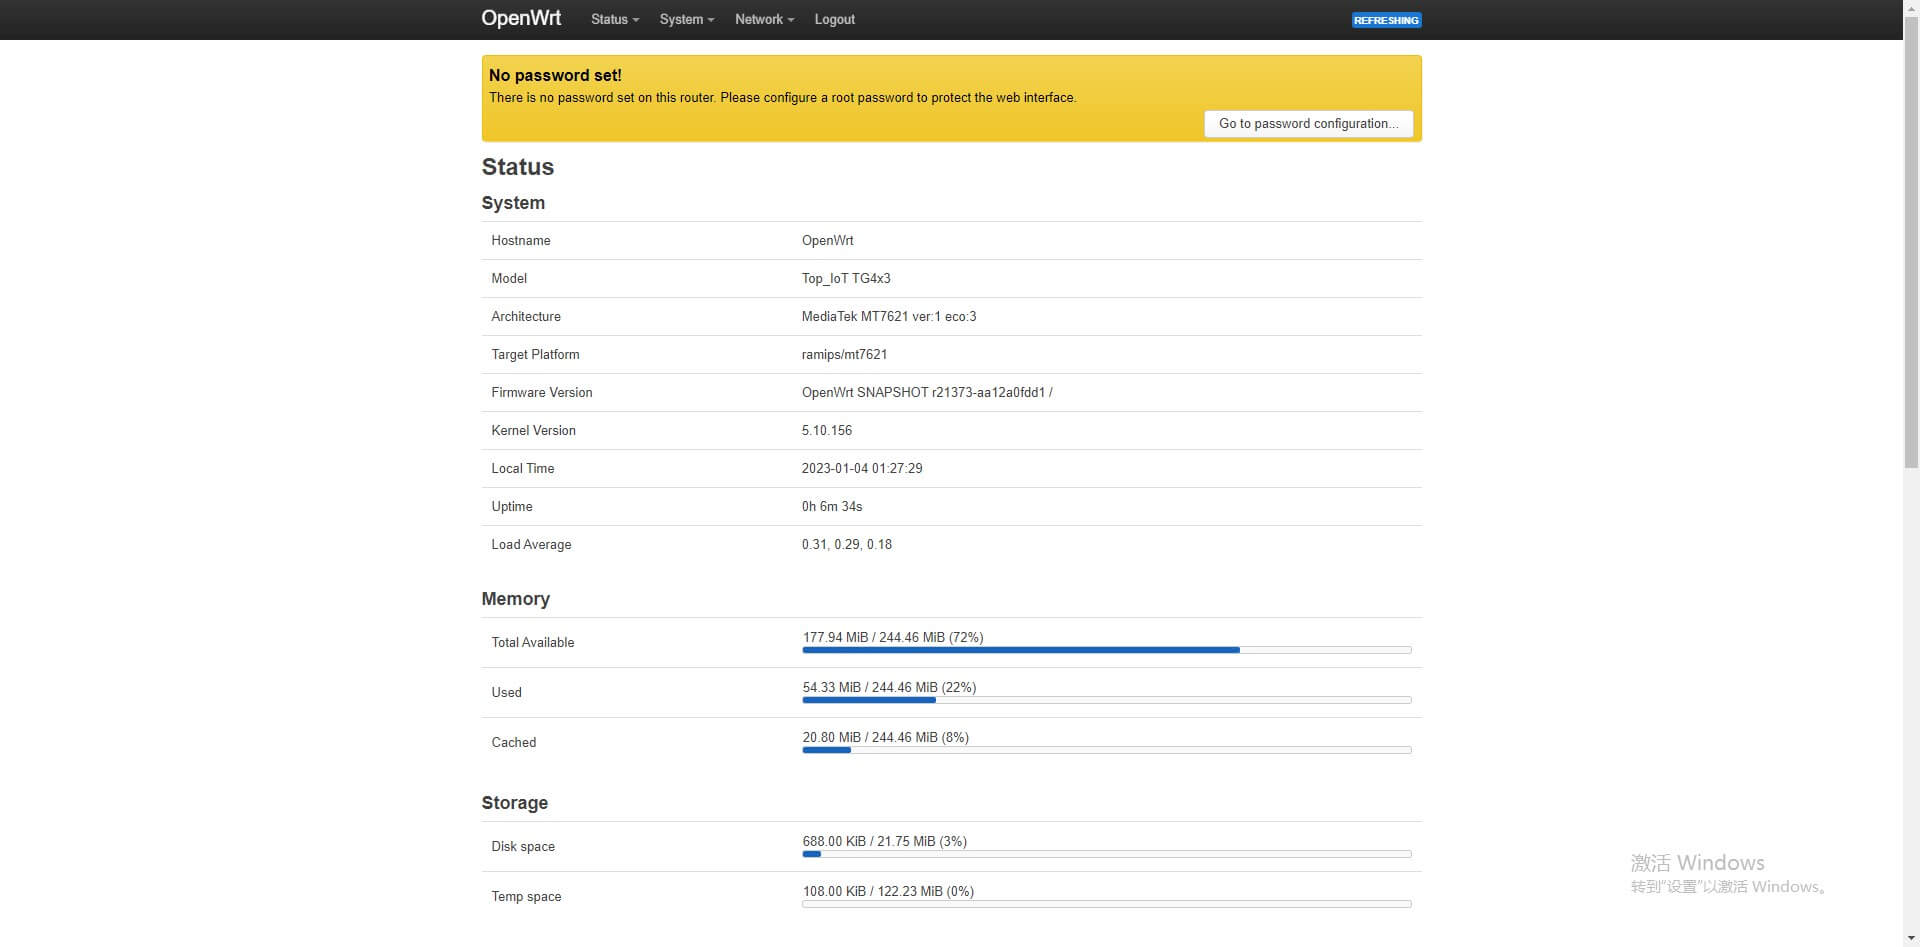
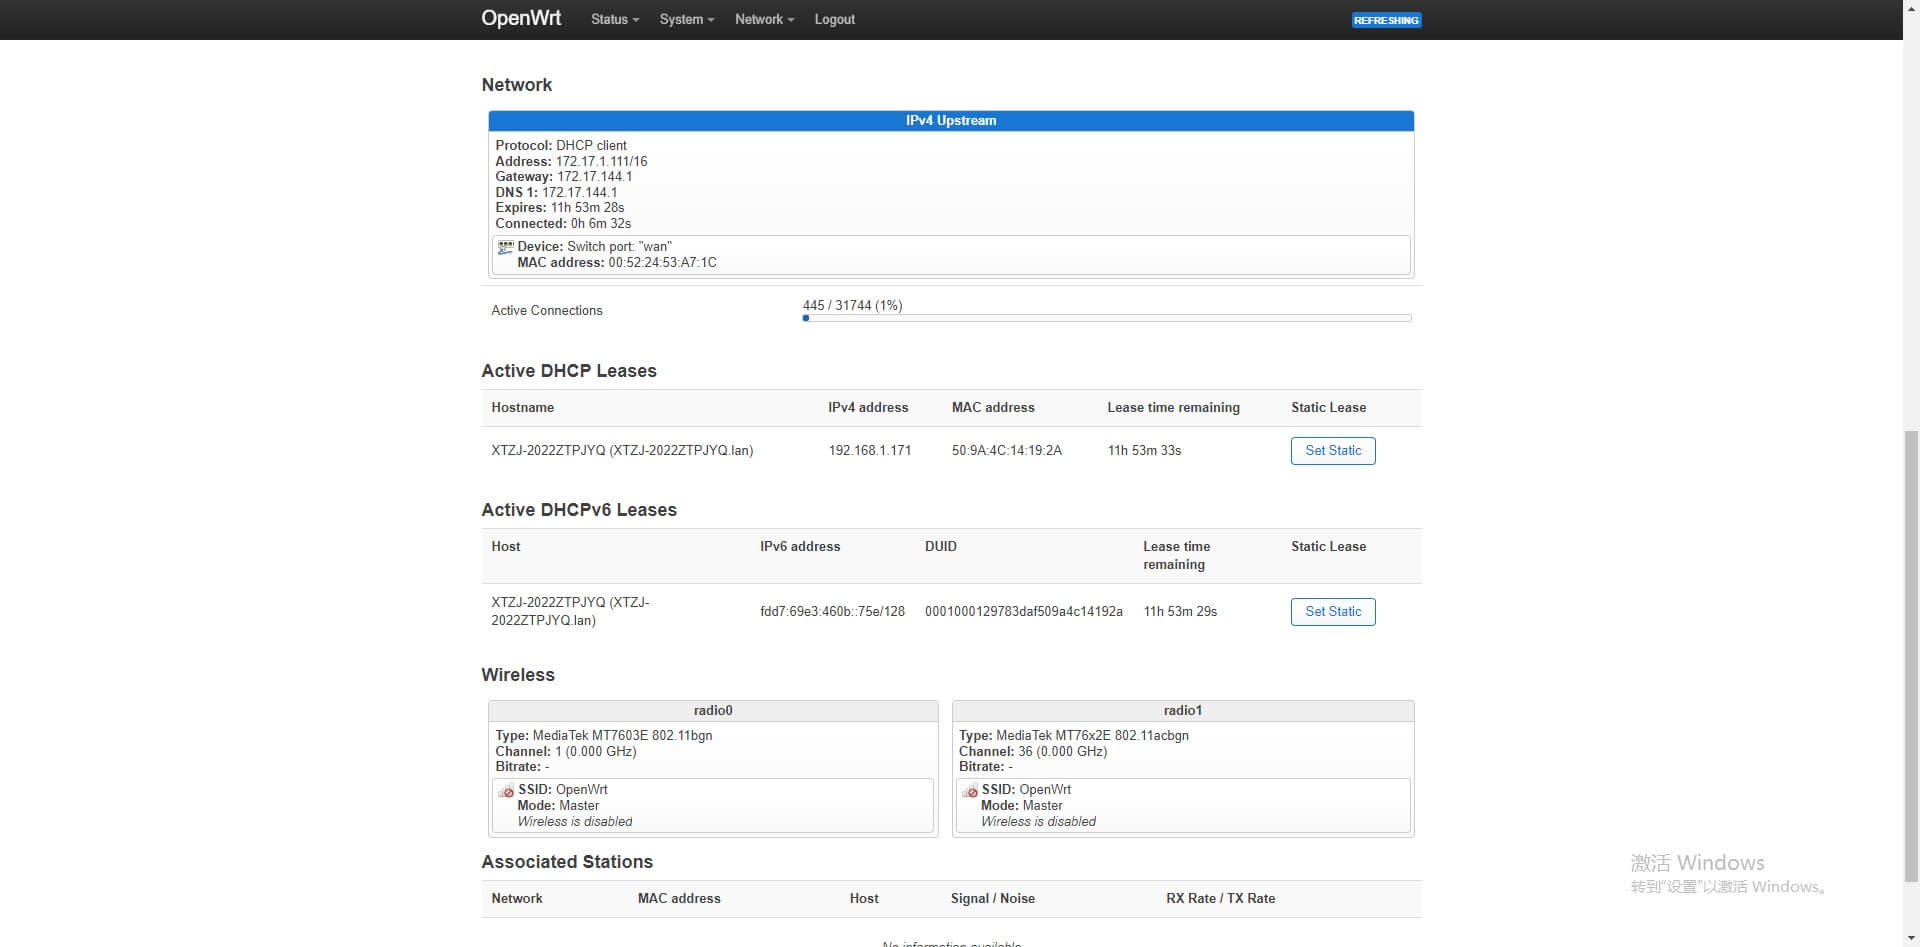
You are able to see the system status of the gateway via the Overview, including Kernel and firmware version.
For example, the kernel version below is 5.10.156 and firmware version is OpenWrt SNAPSHOT, r21373-aa12a0fdd1, which is based on 22.03.0

3. System
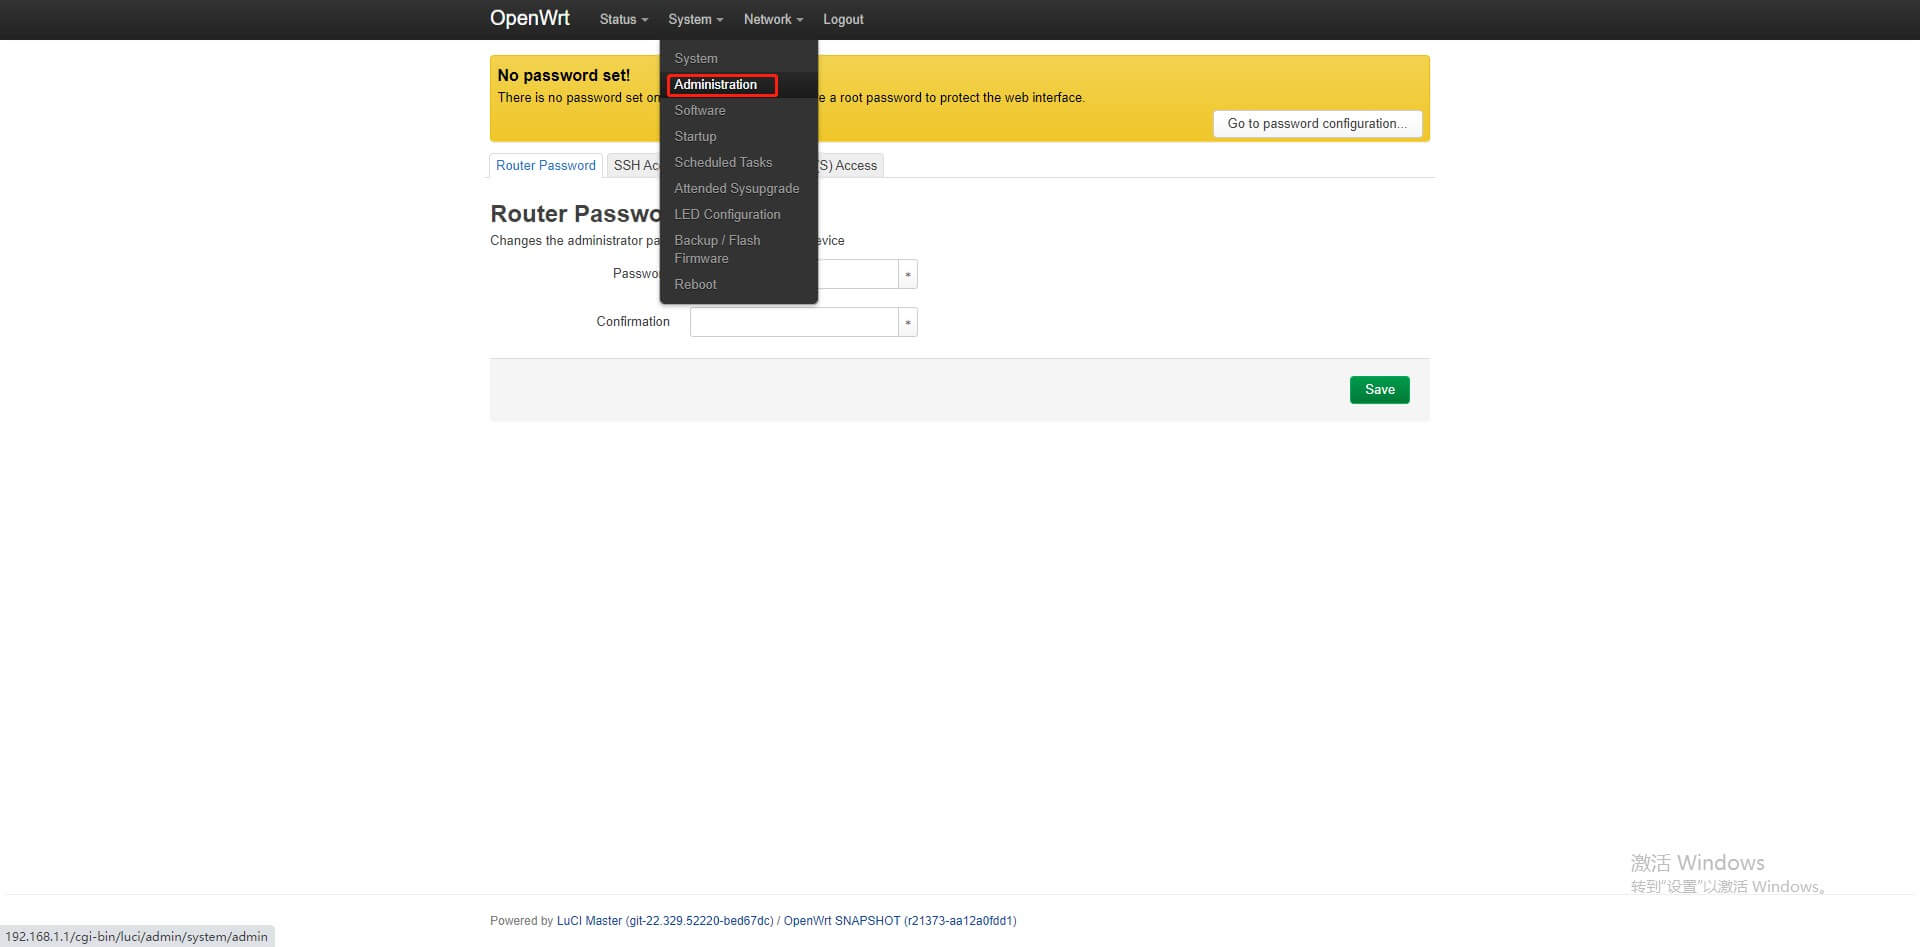
- Administration
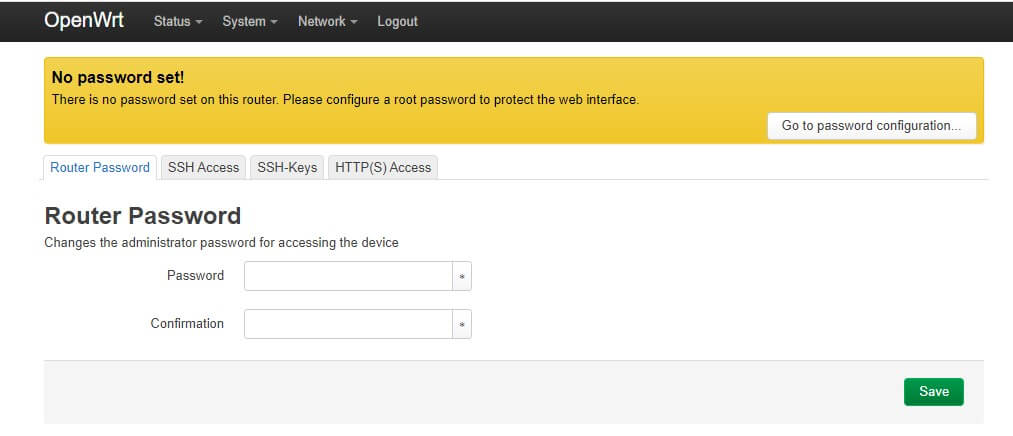
You can change the Password of router, enable SSH access, SSH keys and HTTP(S) access via Administration drop-down menu.
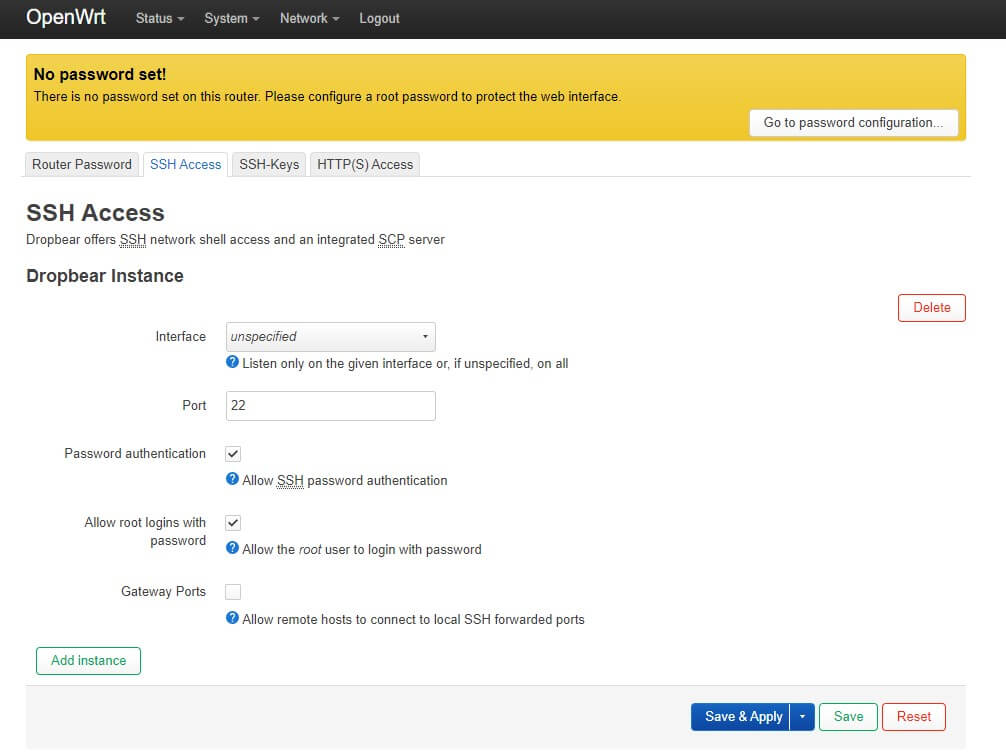
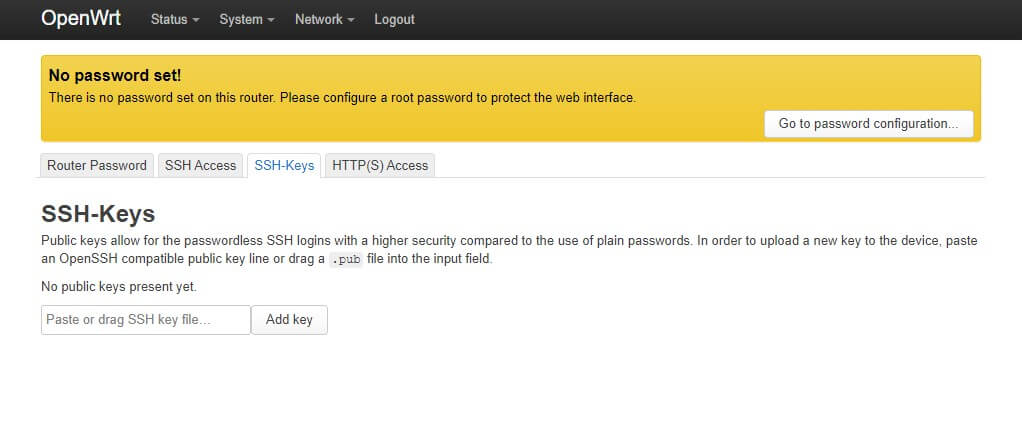
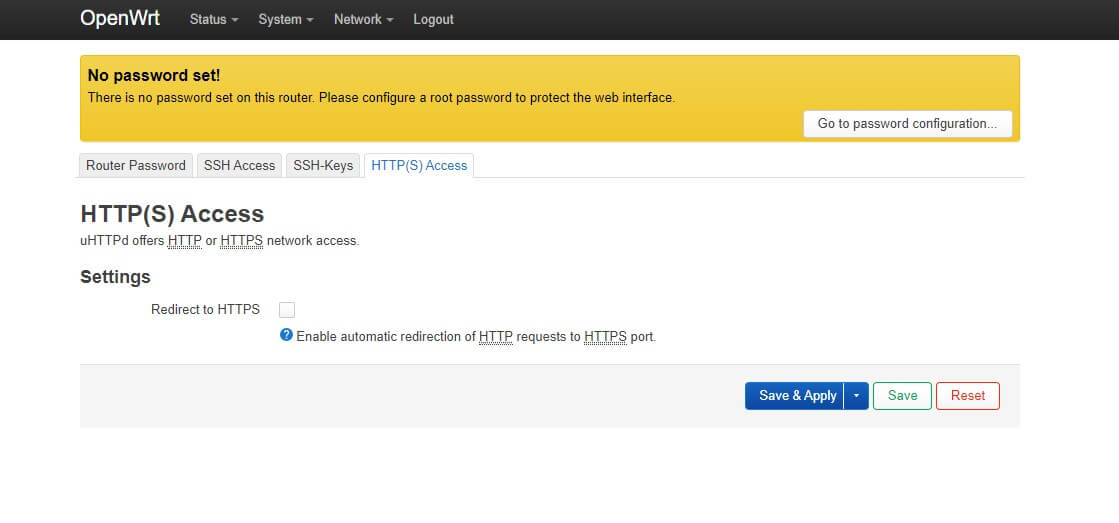
- SSH Access
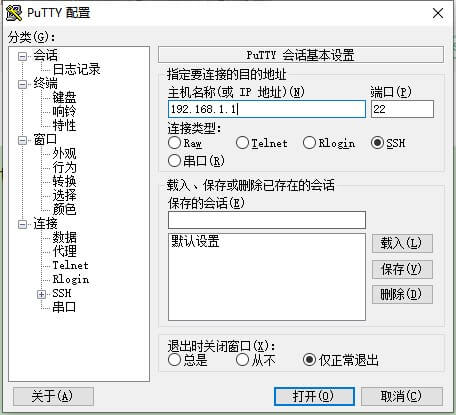
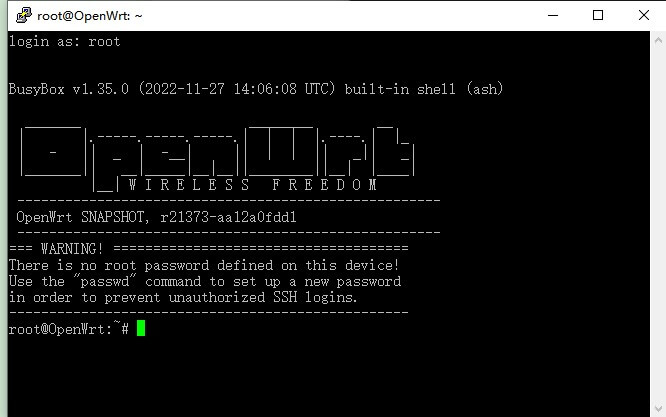
After setting the SSH access, you are able to use Putty or the other SSH tools to login the router as below
- Software
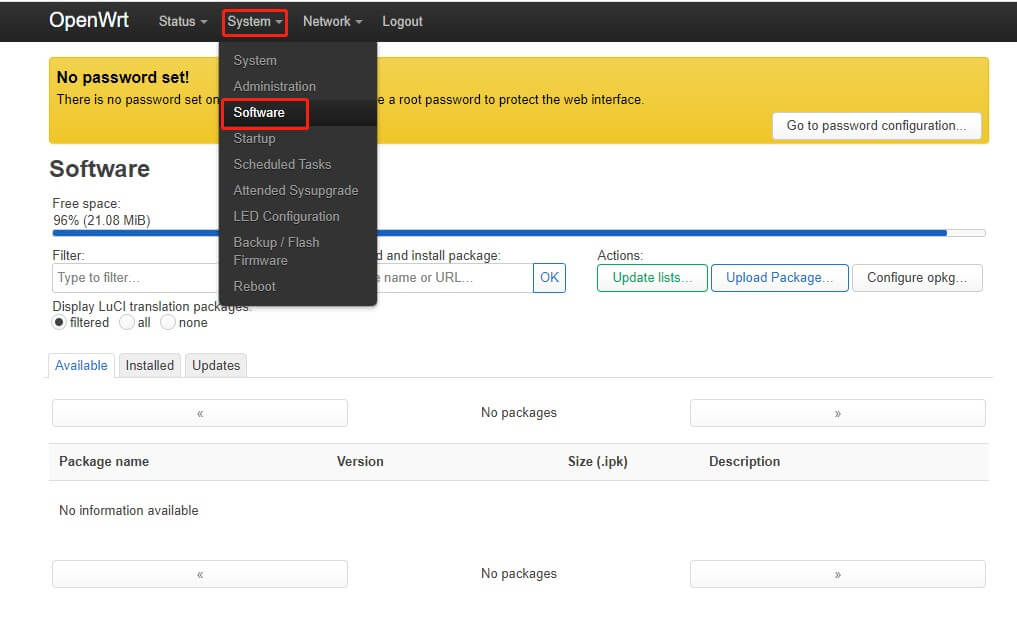
You can install available software or use an URL to install package, besides, it also supports uploading package from local file.
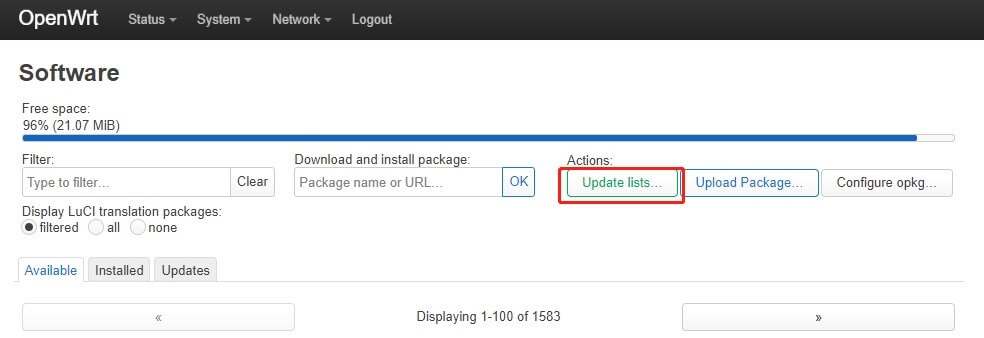
Click Update lists button, then you can choose the available software to install.
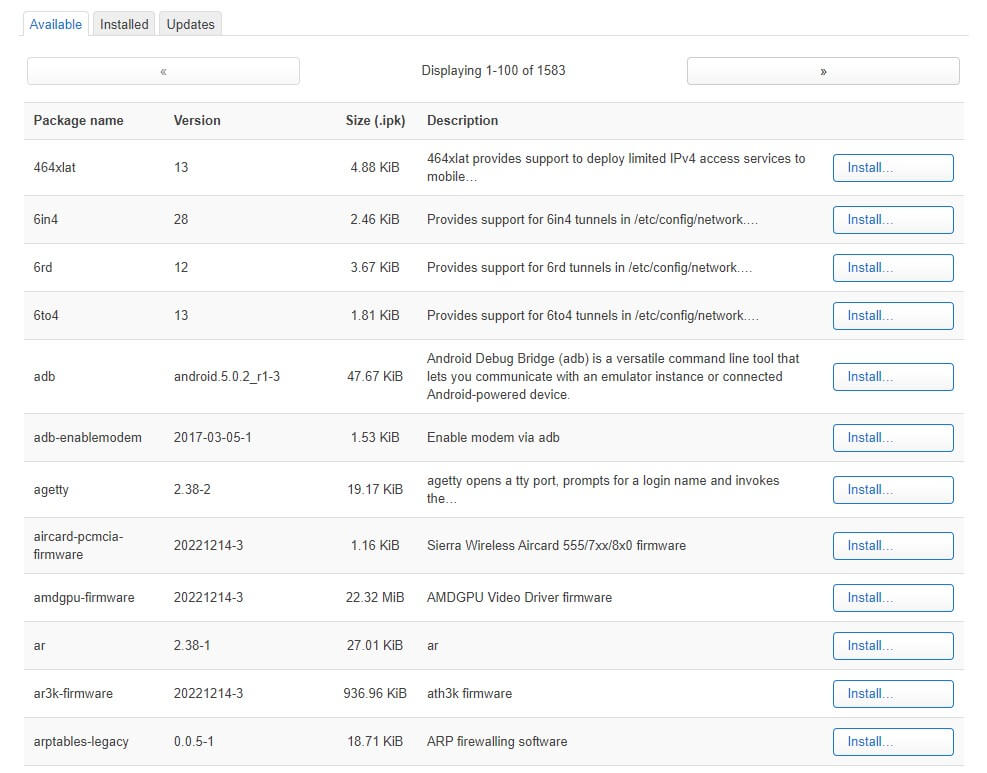
You can also copy the download link to blank in red, and click OK button to start installing the packages from website.

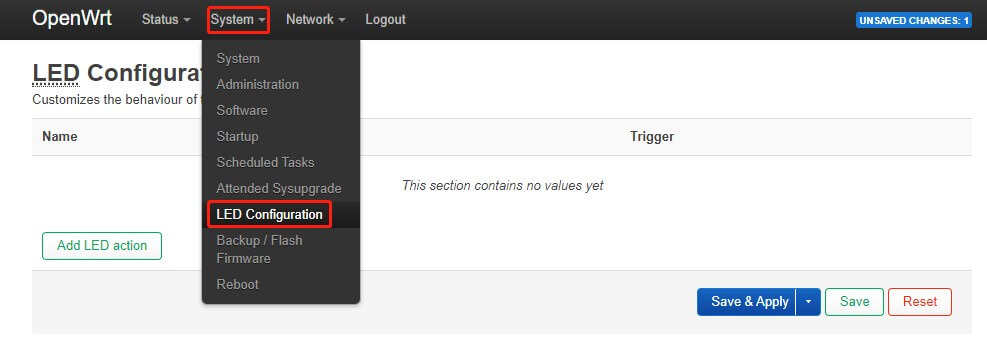
- LED Configuration
Click ‘Add LED action’, and you can choose the ‘LED Name’ of router to configure.

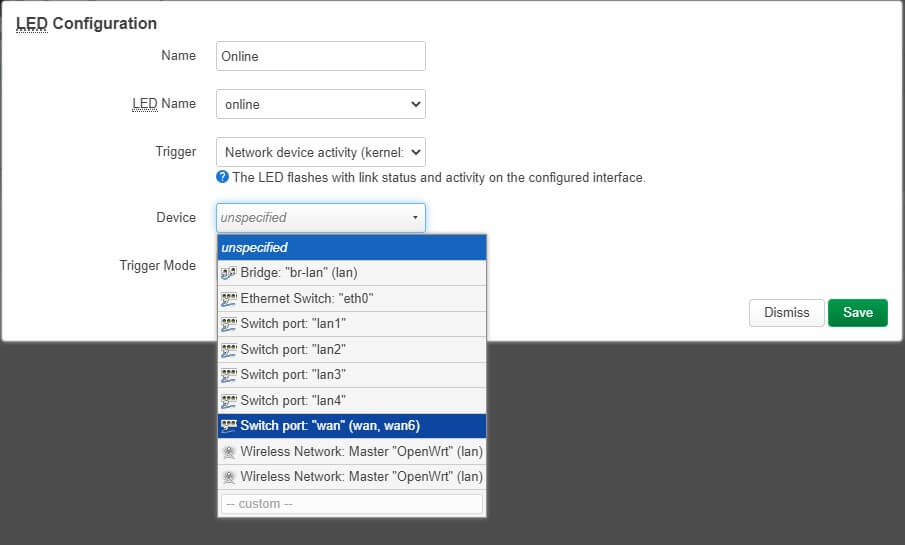
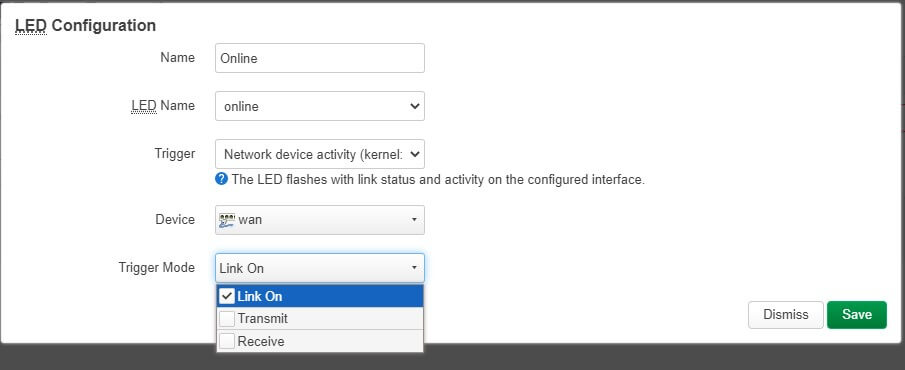
In this case, we use online LED to test, choose the Trigger as ‘Network device activity’, set the Device as wan, and set the Trigger mode as Link on. After settings, click save and apply.
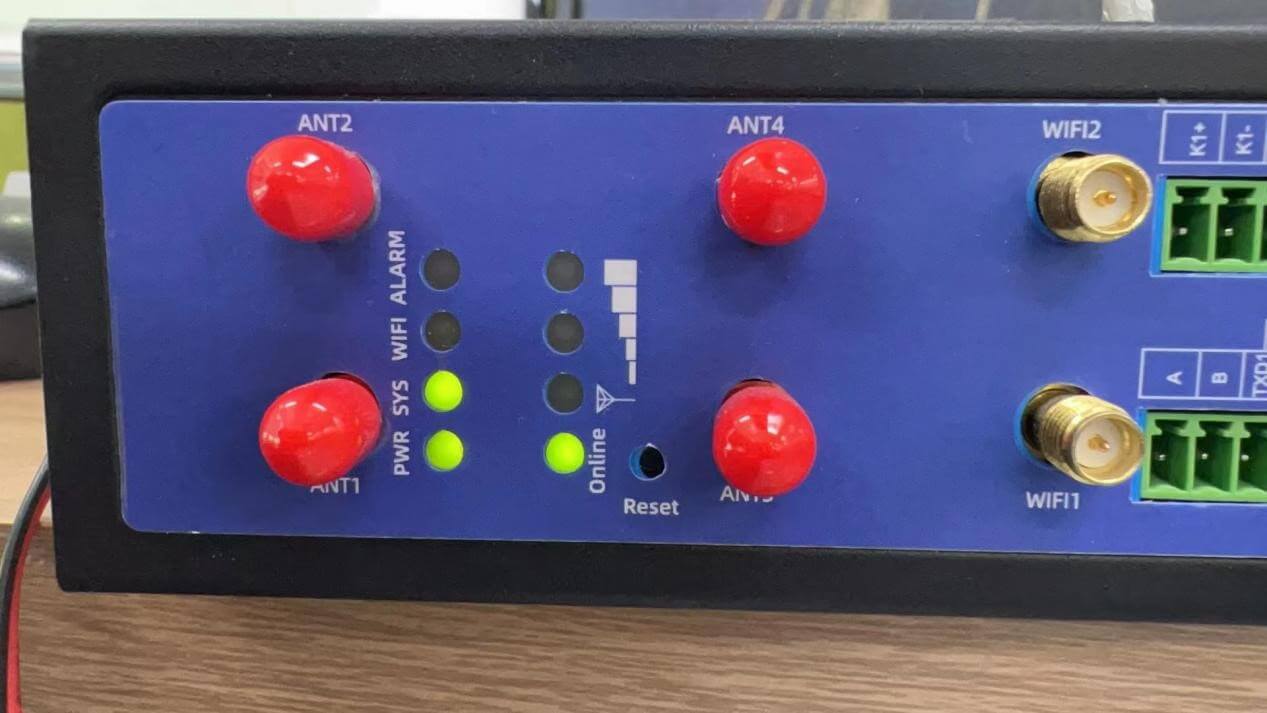
We can see the LED of online is on if your WAN works.
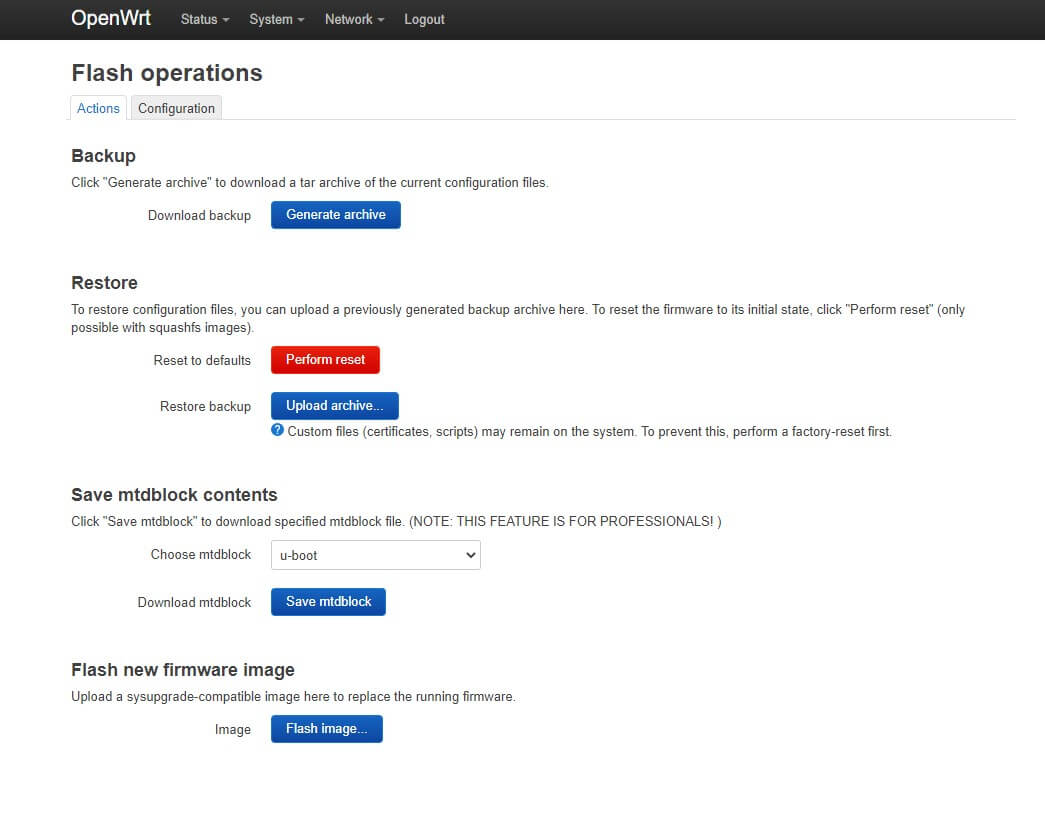
- Backup & Flash Firmware
You are able to do backup or restore, and also flash firmware.
- Reboot
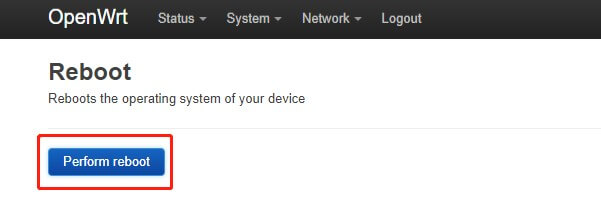
Click Perform reboot to start.
4. Network
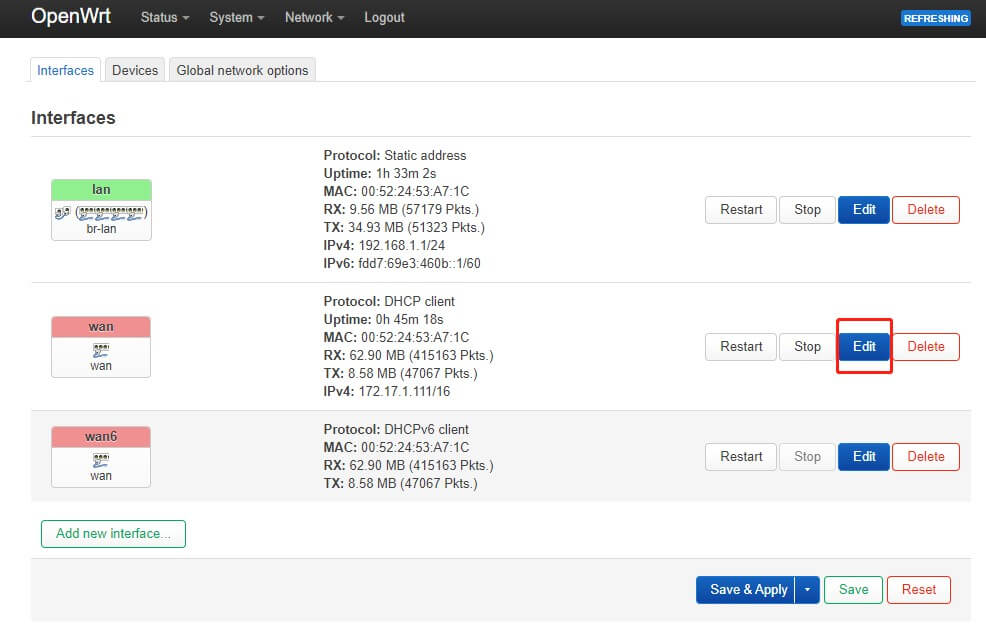
- Interface
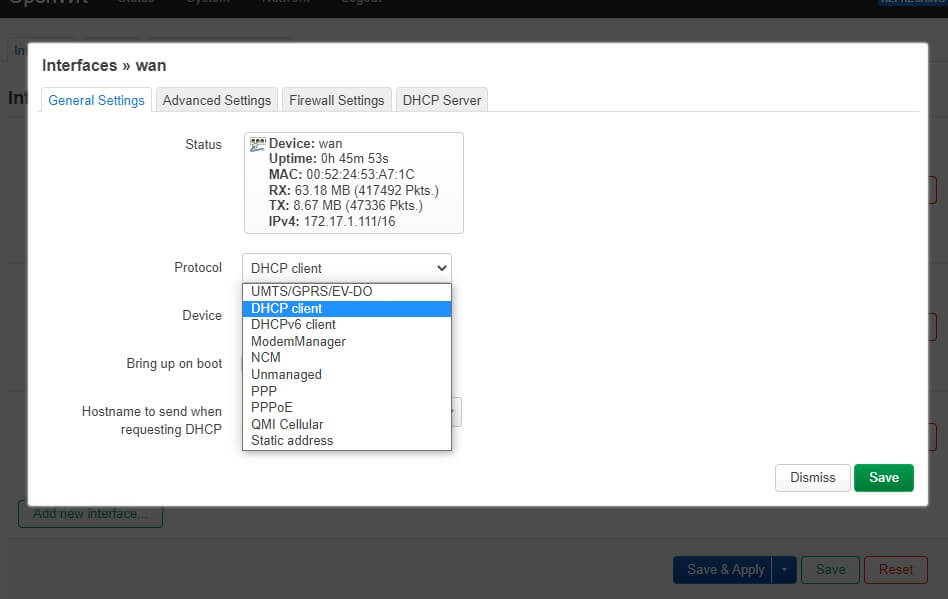
You can change the protocol of WAN interface from this menu.
- Wireless
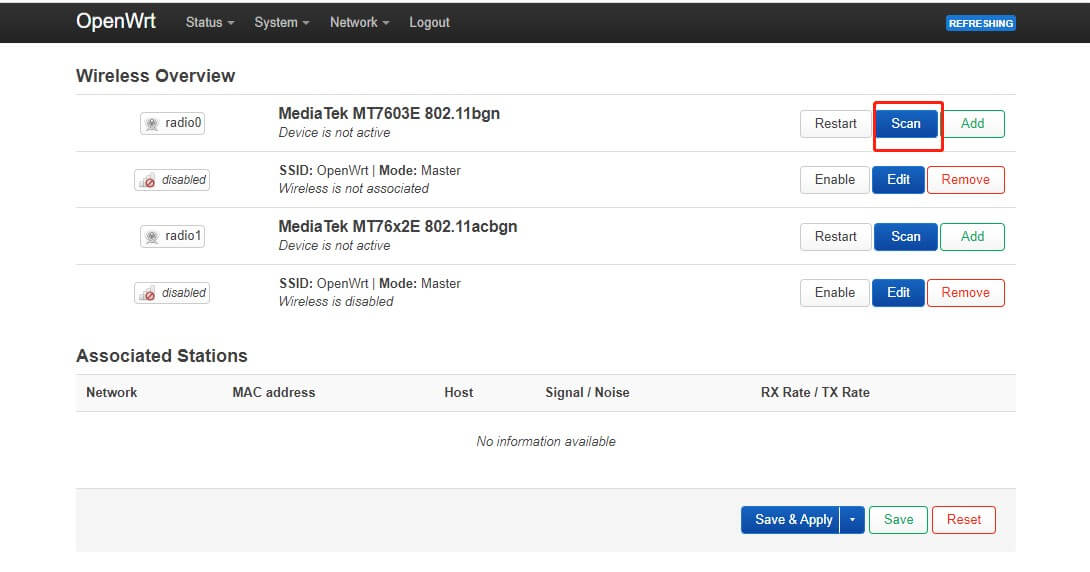
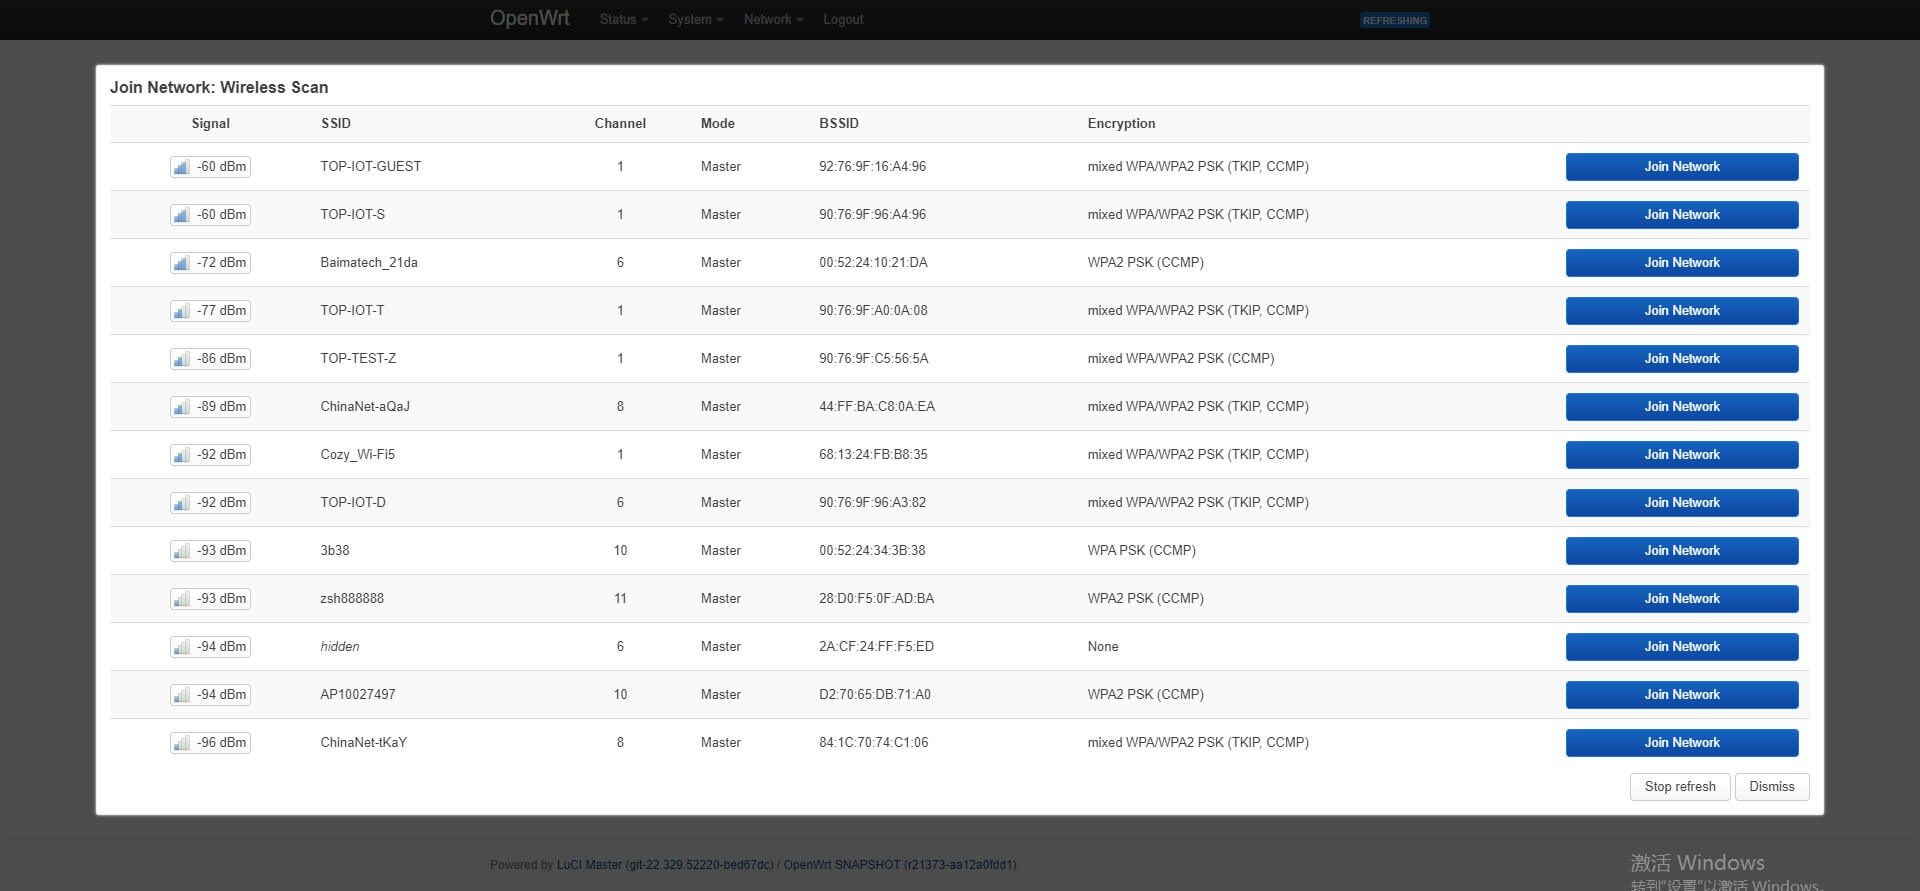
In wireless interface, click scan, then it will show the available hot spots to connect.
- Firewall
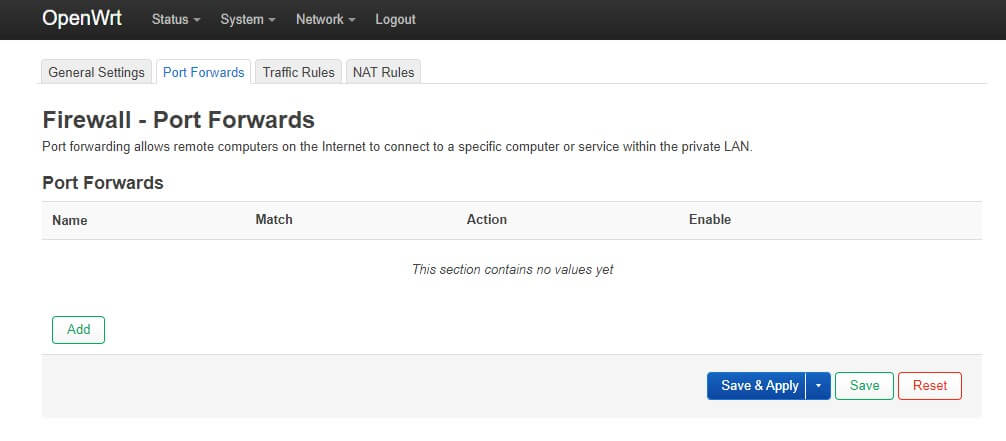
At the firewall function, we can do port forwards and make traffic rules here.
Conclusions
This is just a quick guide of setting up basic configuration of Bivocom TG453, TG463 IoT gateway under latest OpenWrt version 22.03.0, for more support, please contact Bivocom at [email protected], or [email protected]



1 Comment